Changing the tires on your dirt bike doesn’t have to be hard. It can actually be very quick and easy as long as you have the right tools, tips and tricks, and patience. Below you’ll find five simple tips to make changing a dirt bike tire much easier.

Understanding the Drop Center
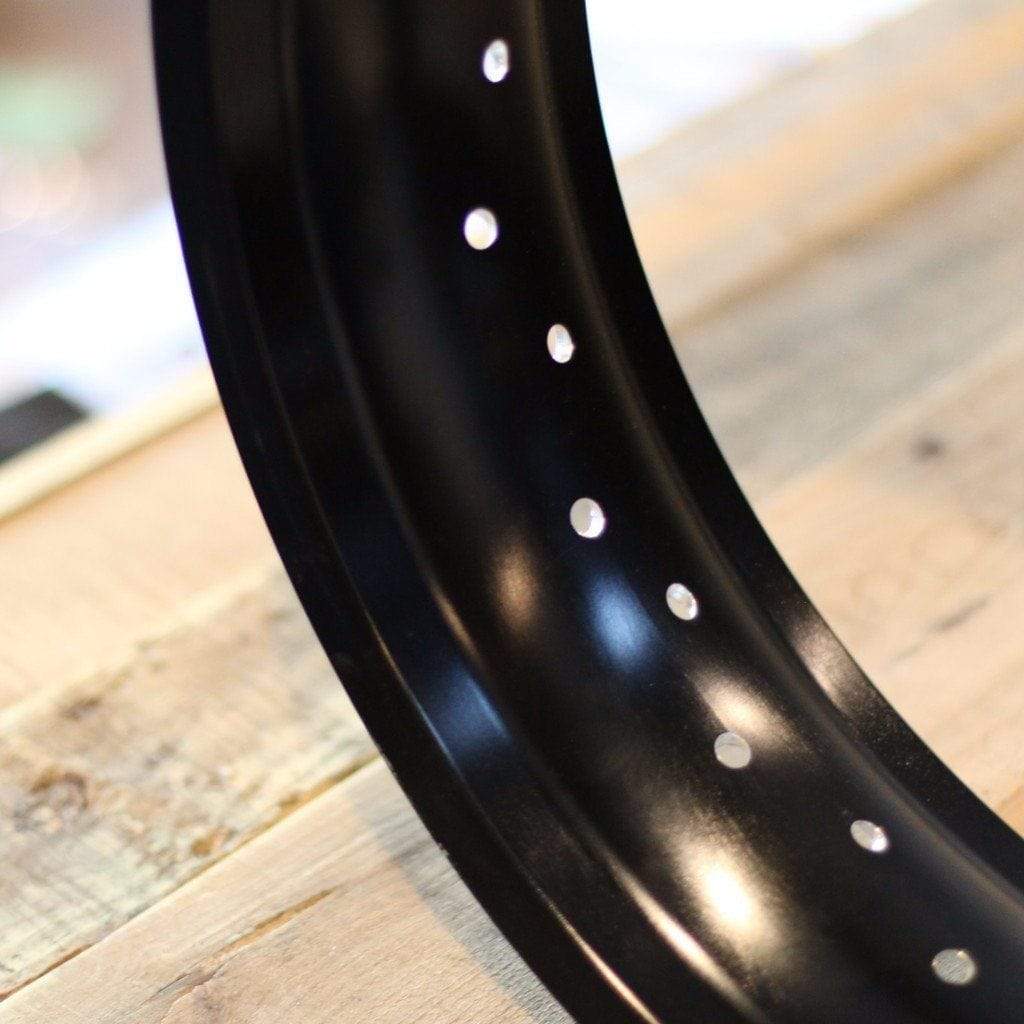
It is very important to know and understand what the drop center is on a rim. In the picture above you can see that there is a contour down the center of the rim. This is known as the drop center. When installing or removing a tire, it is crucial that the tire bead sits in this drop center. This helps provide adequate clearance on the opposite side where the tire’s bead will need to be worked onto the rim with a few tire irons. The better you get at keeping the tires bead in the drop center when changing it out the smoother the tire changing process will go. You are also going to be less likely to damage the rim or the tire itself.
Tire Iron Choice
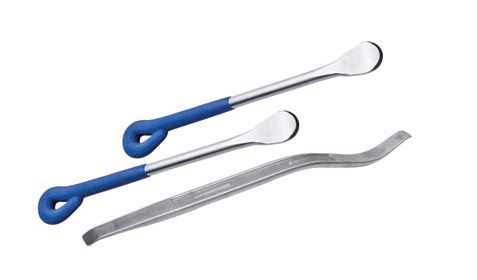
When it comes to choosing tire irons it is more of a preference as to what works best for you. However, many find the Tusk Tire Iron Kit an excellent choice. This kit comes with two tire spoons and one longer, curved tire iron. The length of the tire iron is great because it gives the user a lot more leverage when working the tire’s bead onto the rim. Another great feature about this tool is its curve. This allows users to get the tool underneath the bead and onto the rim when the tire is really tight.
Dirt Bike Bead Tool
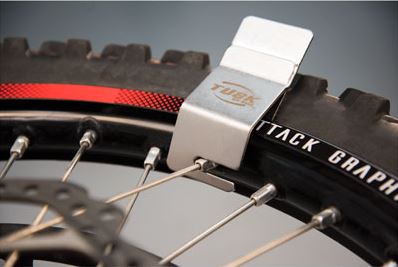
The third tip on the list is to use a tire bead tool like the one pictured above. The tool is made by Tusk and is a great option for under $20. This tool acts as a third hand by attaching to the rim and holding the bead in the drop center. As we know from above, keeping the bead in the drop center while installing is absolutely crucial to getting the tire changed. Tusk makes several different variations of this tool to fit the many different rims on the market. They also make a mini tire bead tool that you can throw in your trail pack when you are out trail riding.
Inflating the Tube Slightly to Avoid Pinching
It is very important to slightly inflate the inner tube when changing a dirt bike tire. This is going to help prevent a pinch flat during the installation process. One of the worst things to discover is a pinched inner tube after the entire installation process is complete. Not only is this super frustrating, but all the work that was completed must be re-done. To save you the headache, always be sure to slightly inflate the inner tube before installing. You want to add just enough air to give it some shape and body, which is usually around 5 PSI. The installation process only becomes harder if too much air is added to the inner tube so be sure not to over inflate. If little or no air is added to the tube, the chances of pinching the tube during the installation process are going to increase significantly.
Use Tire Lube
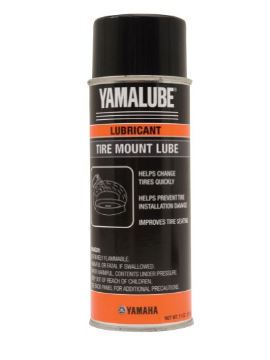
This tip is probably the one that gets overlooked the most but is the most crucial. Using specifically designed tire mounting lubricant will not only make the process way easier, it also will help protect your rims and tires from getting damaged. The most popular lubricant among experts is Yamalube made by Yamaha.
Many people don’t know what kind of tire lubricant to use or even know it exists and end up using soapy water, baby power, or even Windex. These will all get the job done; however the advantages of using a tire mounting lubricant are being missed. Tire mounting lubricant is very slippery, and evaporates shortly after is has been applied unlike the water based products. This allows for easy mounting and leaves the tire and working area clean. Get yourself a can of tire mounting lubricant to keep the frustration levels low and the stoke levels high.
Related Posts


