Winter is over, and the skies are blue and warm. There's no better time to take your bike out of the storage than this. But before you pedal away, there are some maintenance tips to follow to ensure your bike is in the right shape for a ride.
Whether you're a seasoned bike rider or you're riding for the first time, you should know how to prepare your bike for a ride, especially if it's been a long time since you last rode it. You don't need to worry about how long it'll take before you can finally sit on the seat and have that fantastic ride you've been anticipating. Just follow these few steps, and you can pedal away in no time.
Wash Your Bike Thoroughly
If you're taking your bike out of the storage, then you should be aware that the first thing you should do is wash it. Washing your bike is easy. You need mild detergent, a rag, and warm water. This will give your bike a brighter and better outward appearance. Also, you'll be able to wash off sweat and corrosive road spray from the frame and components to increase the bike's lifespan.
After washing thoroughly, apply some degreaser on the drivetrain. This will remove grit and dirt. Then you lubricate the moving parts; you don't want them getting stiff and rusty.
Inspect The Tires
This is the next thing and is essential if you don't want the tires to give off on the road while you're riding. Tires lose air pressure after sitting still for a long while, so you'd like to inflate the tires. Although while you're doing this, you should check the sidewalls of your tire for the company-recommended air pressure, ensure you stay within this range to avoid the possibility of a tire puncture.
While doing this, check for wear and tears and if there are worn patches or cracks in the threads. And if your tire is worn or there are loose threads, perhaps it's time you invested in a new set of tires.
Check The Wheels
If your bike's wheels are attached to the bike frame with quick-release levers and thru-axles, ensure they're adequately tightened. Next, turn the wheels to check if they're tightly fit. While spinning the wheels, please take note and ensure that they're not rubbing against the bike's brake pads, frame, or fork. You should also ensure that they turn freely without grating noises from the hub.
If the wheels stop turning after a few revolutions or seem unbalanced in the rims, you should tighten it before you take a ride and fix the hubs. Don't forget that the wheel spokes are the ones that keep the wheel straight, so check to ensure that they're all right. If they're not screwed tight, use the correct sized wrench to tighten them, and don't make it too tight.
Check The Brakes And Replace Worn Out Cables
Losing control of your bike while pedaling is what every cyclist avoids, which is why a proper check of the brakes is in order. Squeeze both the front and rear brake levers to confirm that they're working perfectly well. The brake levers must engage both sides of the brake pads on each wheel and must also stop the wheels in motion. If the brake cables are sticky or frayed, replace them with new ones.
Ensure that the length of your brake pads presses the rim again when activated and that they are not loose to avoid them coming off. If the cable's length is too far from the rim, it means it's time to replace the cable. It would be best if you also replaced worn brake pads immediately you notice them. Coat the new cable with some chain lube so your bike's shifting and braking can be much better when replacing the cable.
Inspect The Chain For Wear
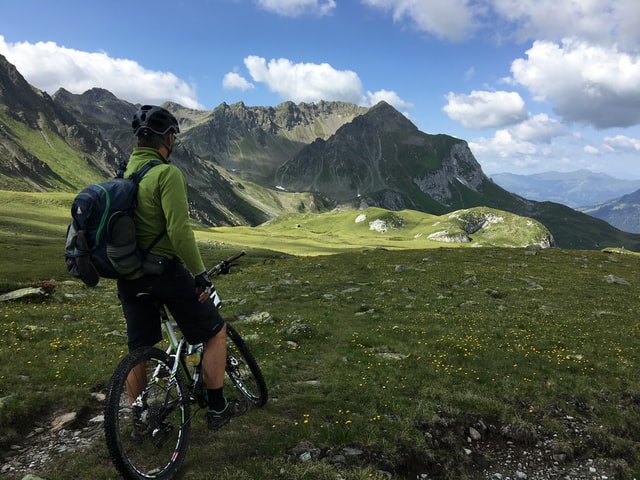
Usually, a bike's chain lasts between 1500 and 10,000 miles. How long the chain lasts depends on varying factors like how often you ride the bike, the riding style, the weather, gear choice, and how often you lube the chain, so keep the chains lubricated.
You can also check the tension by pressing your fingers against the top chain by using a ruler. If it moves more than ½ inch, it means the chain is too loose, and it might come off while riding. But if it moves less than ¼ inch, then it means the chain's tension is too tight. This can cause the gears to bind and get damaged. In this scenario, loosen the nuts at the rear wheel on each side.
Chains tend to expand after using them, so before you take your bike out for a ride, check the chain length using a chain checker tool. Riding on a stretched chain for too long damages the chainrings and cassette, so save yourself the stress of having to replace the chainrings and cassettes by consistently fixing the chain.
Adjust The Seat
The seat will determine how comfortable your ride will be. Tighten the seat to ensure it's not loose. That way, you avoid a bumpy ride. You should also try to replace the seat if the covers are worn, don't wait till the springs are exposed because even before then, the springs will be digging in while you're sitting.
Another critical feature to note is the seat's height and positioning. When you're pedaling, you'll know the saddle is at the right height when your knee is slightly bent if your leg is extended in the 6 o'clock position. And when your feet are placed parallel to the ground, your knee is directly at the center of the front pedal.
Then if you'd prefer to tilt the saddle forward, level, or backward, it's your choice, as long as it is convenient for you. Comfort and convenience are of utmost importance to have an enjoyable ride and avoid injuries.
Check Your Shifting
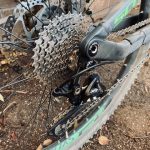
Check all the gears to ensure they're okay. You can use either a bike stand or mount your bike upside down and check through the rear derailleur to check that it shifts smoothly between all the gears on the cassette.
When doing the front derailleur shifts, the chains should shift evenly between the small and large chainrings without falling from them. Otherwise, you'll need to use a small Phillips-head screwdriver to adjust the front and rear derailleur. That way, the chain remains centered on each gear.
Apply Lube
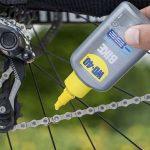
There are different lubricants, but it is advisable to use either dry lube or light oil like Tri-flow as you don't want dirt and grit sticking to your bike's moving parts. You should generously lubricate all moving parts of the crankset. Also, the set of gears, chainrings, the chain especially.
When applying lube to the chain, make sure you pedal backward while you're lubing the insides of the chain. This way, the centrifugal force pushes the lube further into the chain parts. But if you apply the lube on top of the chain, the centrifugal force flings the lube away without lubricating the parts. It would be best if you also threw on some lubricant on each side of the rear wheel bearings.
Check The Bike Frame And Headset
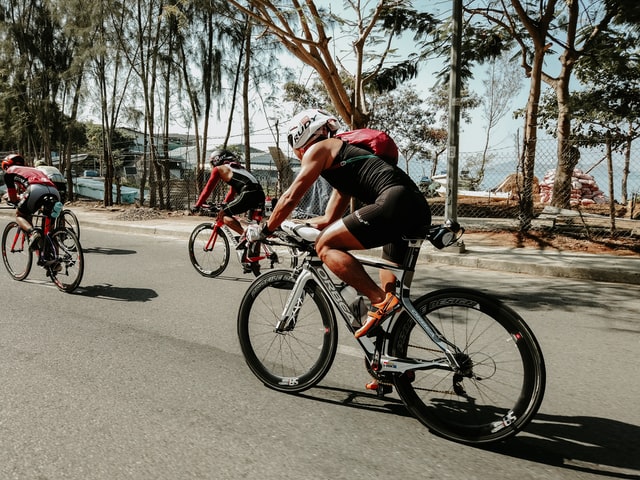
Before taking that bike out for a ride, check the frame. If there are any cracks, I'll suggest you get them fixed. Check if the headset is properly tightened. You can do this by first turning the stem. This will ensure that the headset moves freely and smoothly. Then you can drop the front end of the bike. A rattling sound is a signal that something in the headset is loose.
If there's too much rattling sound, examine the source of the rattling sound by engaging the brakes and pushing the bike forward and backward to note if there's any movement in the headset, movement means the bike needs adjusting.
Check Your Safety Gear
If your bike is missing either of the front and rear lights or both, then you should consider getting some, especially if you're going to be driving into the evening. You should try your possible best to ensure you're visible to drivers or pedestrians while cycling in the evenings. You should also check your bicycle lights and reflectors to see if they're in good working conditions or they require a change of batteries.
Conclusion
Following these preparation tips step by step, and you're ready to go cycling. But if it seems too much work, that's why we have mechanics, you can take your bike to the maintenance store, and they'll get it fixed up in no time.
If you're prepping your bicycle so you can enjoy riding in the spring, I'll suggest you get your bike to the maintenance store as early as possible or make a reservation as springtime is the busiest, but it'll take a few days. As soon as your bike is well-prepped, the only thing left is to go for a ride and have fun.

